こんばんは、よつばです。
===
本件、解決しました。(2018/03/15)
解決記事は、こちら -> ESP-WROOM-02 (ESP8266)で有機EL SSD1306を表示する)
コメントで情報くださった方、ありがとうございました。
===
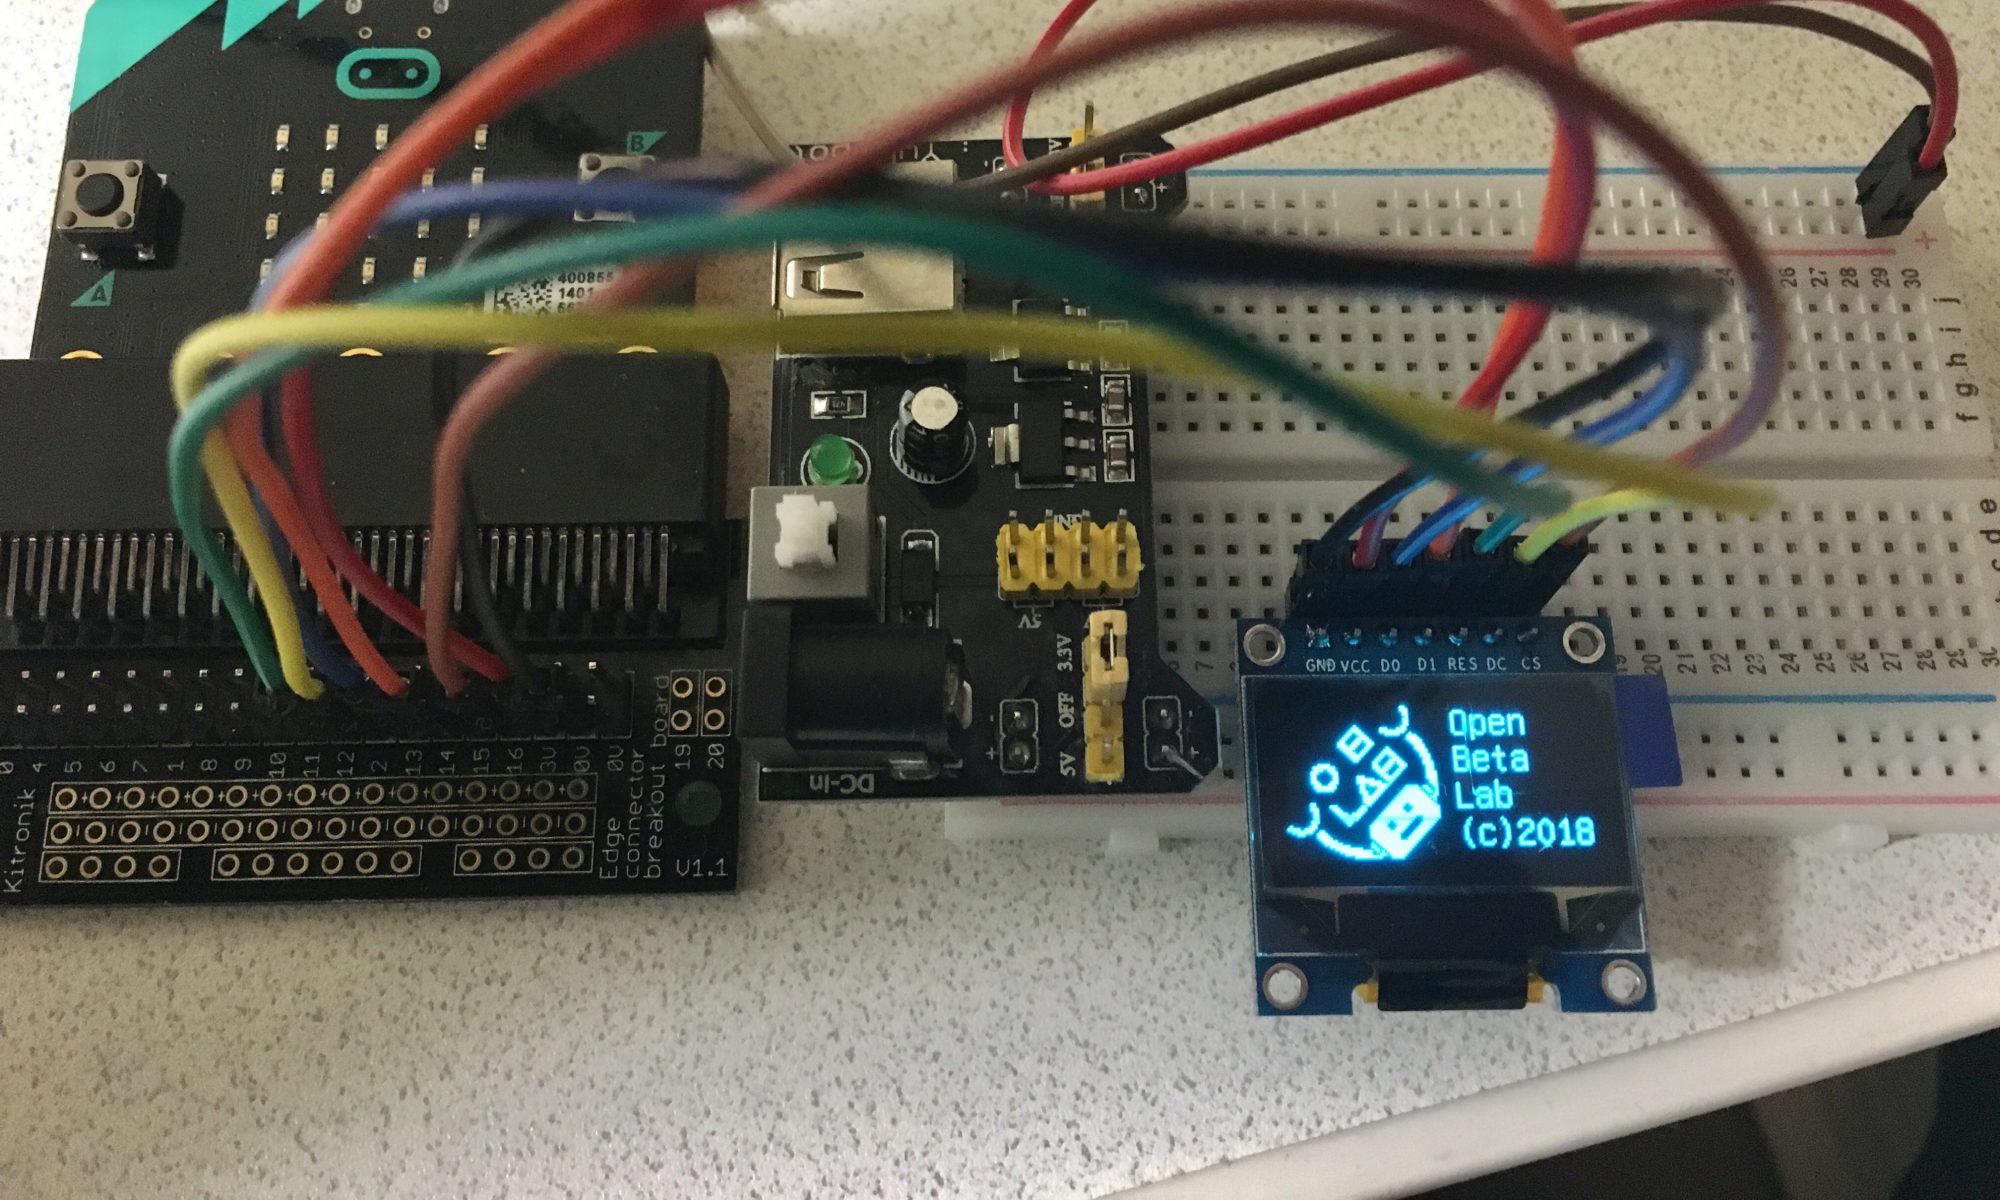
ESP-WROOM-02(ESP8266)で有機ELディスプレイSSD1306がうまく表示できない件、まだ解決していません。追加情報を載せたいと思います。詳しい方、アドバイスください。
トラブルにあったら、まずはこれまでの作業にミス、漏れはないか、順を追って確認していく必要があります。特にネットの情報を見る限り、他の方は表示できているようですので、私の設定や接続の仕方に誤りや漏れがある可能性が高いです。
I2C-Scannerでアドレスを調べる
接続しているピンが正しいかを確認してみます。I2C-Scannerというプログラムを公開されていましたので、利用してみます。
Arduino Playground – I2cScanner
転載です。
// --------------------------------------
// i2c_scanner
//
// Version 1
//    This program (or code that looks like it)
//    can be found in many places.
//    For example on the Arduino.cc forum.
//    The original author is not know.
// Version 2, Juni 2012, Using Arduino 1.0.1
//     Adapted to be as simple as possible by Arduino.cc user Krodal
// Version 3, Feb 26  2013
//    V3 by louarnold
// Version 4, March 3, 2013, Using Arduino 1.0.3
//    by Arduino.cc user Krodal.
//    Changes by louarnold removed.
//    Scanning addresses changed from 0...127 to 1...119,
//    according to the i2c scanner by Nick Gammon
//    http://www.gammon.com.au/forum/?id=10896
// Version 5, March 28, 2013
//    As version 4, but address scans now to 127.
//    A sensor seems to use address 120.
// Version 6, November 27, 2015.
//    Added waiting for the Leonardo serial communication.
//
//
// This sketch tests the standard 7-bit addresses
// Devices with higher bit address might not be seen properly.
//

#include <Wire.h>


void setup()
{
  Wire.begin();

  Serial.begin(9600);
  while (!Serial);             // Leonardo: wait for serial monitor
  Serial.println("\nI2C Scanner");
}


void loop()
{
  byte error, address;
  int nDevices;

  Serial.println("Scanning...");

  nDevices = 0;
  for(address = 1; address < 127; address++ )
  {
    // The i2c_scanner uses the return value of
    // the Write.endTransmisstion to see if
    // a device did acknowledge to the address.
    Wire.beginTransmission(address);
    error = Wire.endTransmission();

    if (error == 0)
    {
      Serial.print("I2C device found at address 0x");
      if (address<16)
        Serial.print("0");
      Serial.print(address,HEX);
      Serial.println("  !");

      nDevices++;
    }
    else if (error==4)
    {
      Serial.print("Unknown error at address 0x");
      if (address<16)
        Serial.print("0");
      Serial.println(address,HEX);
    }
  }
  if (nDevices == 0)
    Serial.println("No I2C devices found\n");
  else
    Serial.println("done\n");

  delay(5000);           // wait 5 seconds for next scan
}
実行した結果
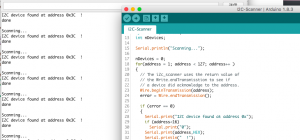
0x3Cと表示されました。裏面の抵抗の接続&シルク印刷が正しい(0x78>>1)ことがわかりました。
(ネットの情報ではシルク印刷が間違っているなんてこともあるみたいです)

合わせて、ピンワイヤを抜きさしし、I2C接続のSDA、SCL接続が正しいことを確認しました。
SDA=4番
SCL=5番
でした。
まとめ
I2C-Scannerというプログラムでピンのアドレスを確認しました。
まだ解決していませんが、順に調べて行きたいと思います。
One Reply to “ESP-WROOM-02でOLED(有機EL) SSD1306が動作しない (2)”